

Upgrading the RAM in your PC or notebook computer can often be a quick and affordable way to increase the speed of your machine. Example instructions for performing such an upgrade on the Samsung Q45 notebook computer follow. This is a good machine to demonstrate as it has two slots for RAM — one of which is awkward to access. Instructions for your machine may vary. Ensure the power and battery are disconnected and that you and the components are appropriately grounded. You are responsible for the actions you take and any damage that occurs — however caused.
Fitting memory in the lower bay
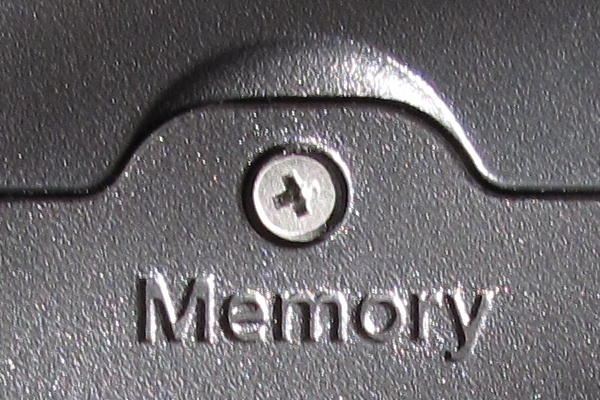
Turn the notebook upside down. Locate the lower memory cover on the underside of the case. Locate the single retaining screw and remove it with a small cross-head screwdriver. Using a fingernail or similar instrument, carefully prise open the cover near the point that the screw was removed and completely remove the cover.
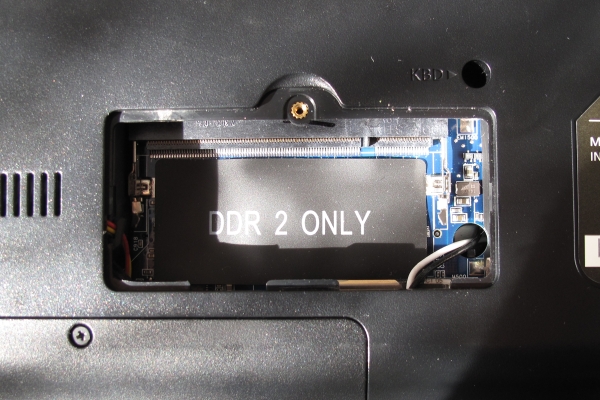

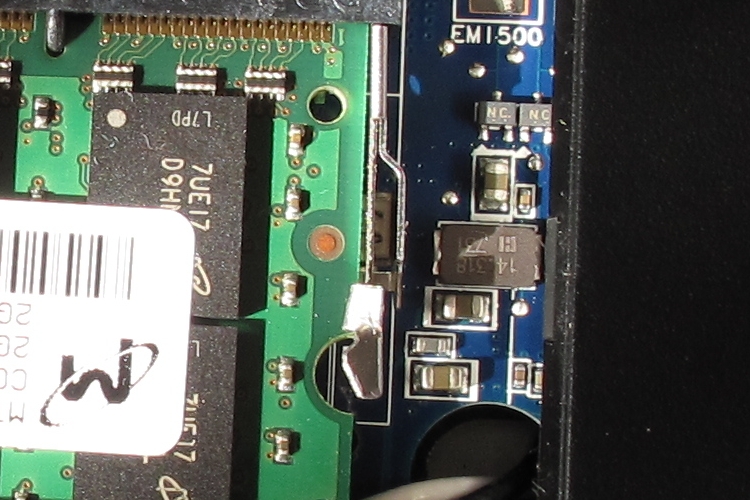
Insert the memory module into the slot at an angle of about 30 to 45 degrees. Ensure that it is pushed all the way into the slot. Now push the top corners of the memory module carefully down towards the notebook. The retaining clips on each side of the memory module will spring into place when the RAM is successfully installed.
Replace the cover for the lower memory slot. Click it into place. Gently tighten the retaining screw to secure the cover in place.
Fitting the upper bay
There is an additional memory slot under the keyboard. This allows a total of 4 GB of RAM to be installed when 2 GB is installed in each slot.
Removing the keyboard
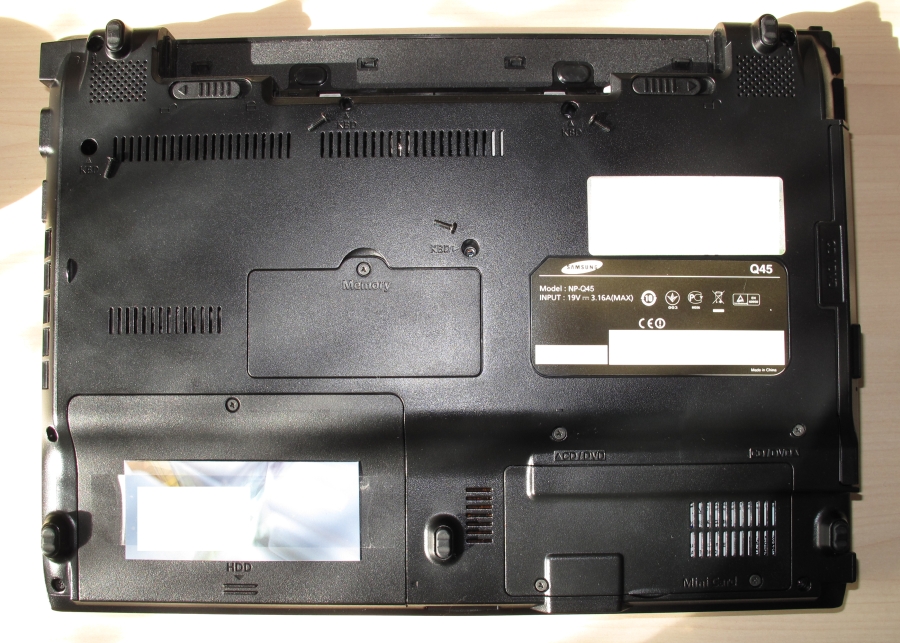
Turn the notebook upside down. Locate and remove the four screws labelled 'KBD' on the bottom of the notebook's case.
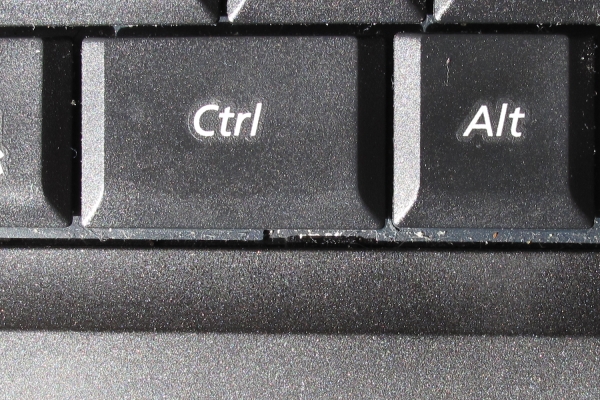
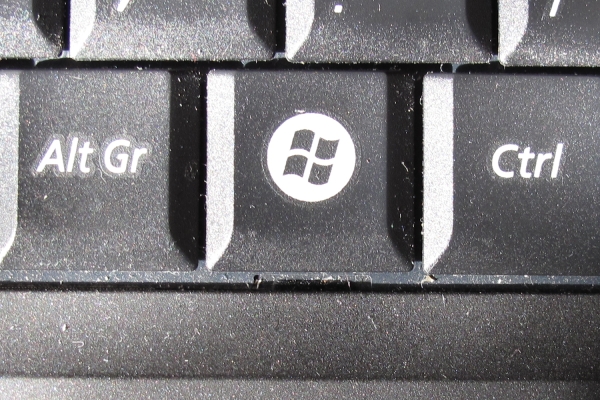
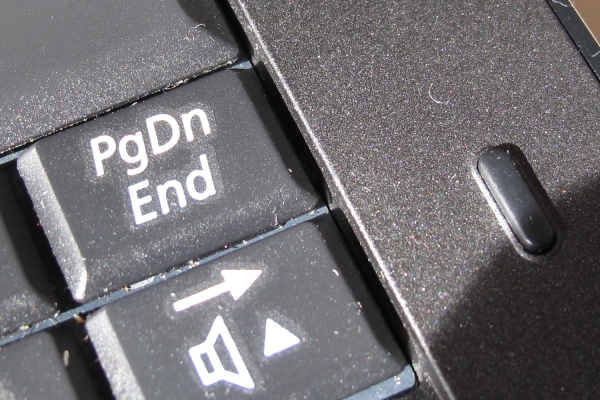
Return the notebook to its right-side up orientation. Open the lid. Using a small flat bladed screwdriver, push the two springed tabs (one located under the left control key and the second located under the command key) away from the keyboard (i.e. towards the front of the machine where the touchpad lies).
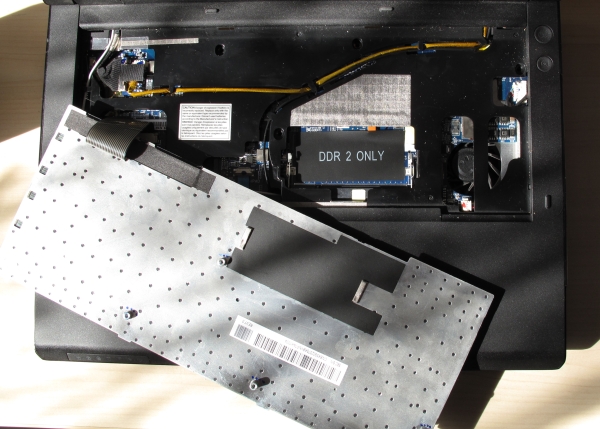
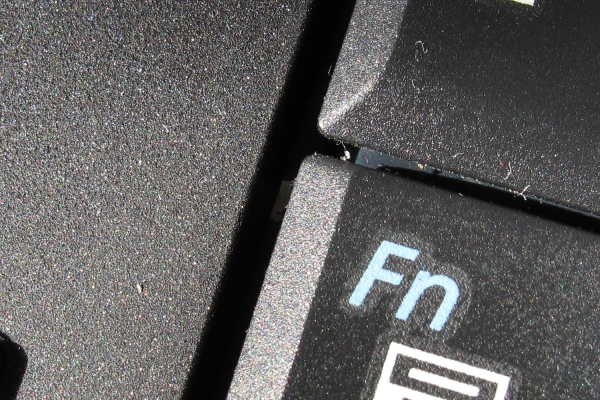
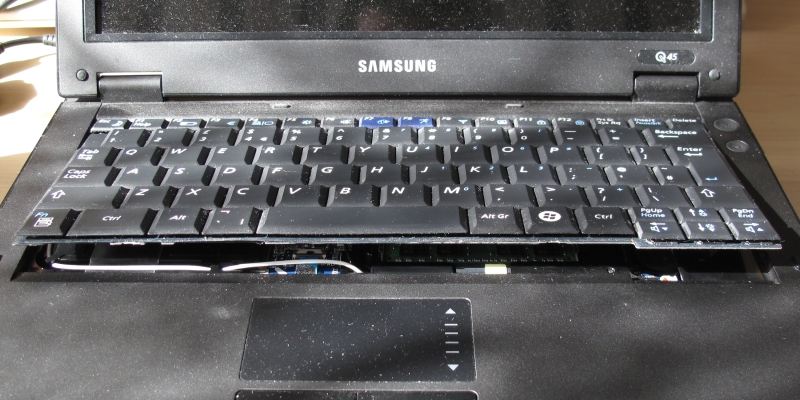
Gently lift the keyboard up underneath the space bar. A little bit of force is required to defeat the small tabs (one to the left of the function key and the second to the right of the page down key). Move the keyboard towards the front of the notebook. It will now be free of the case except from the connection with the ribbon cable. The keyboard can now be turned upside down to reveal the memory slot.
Fitting the memory
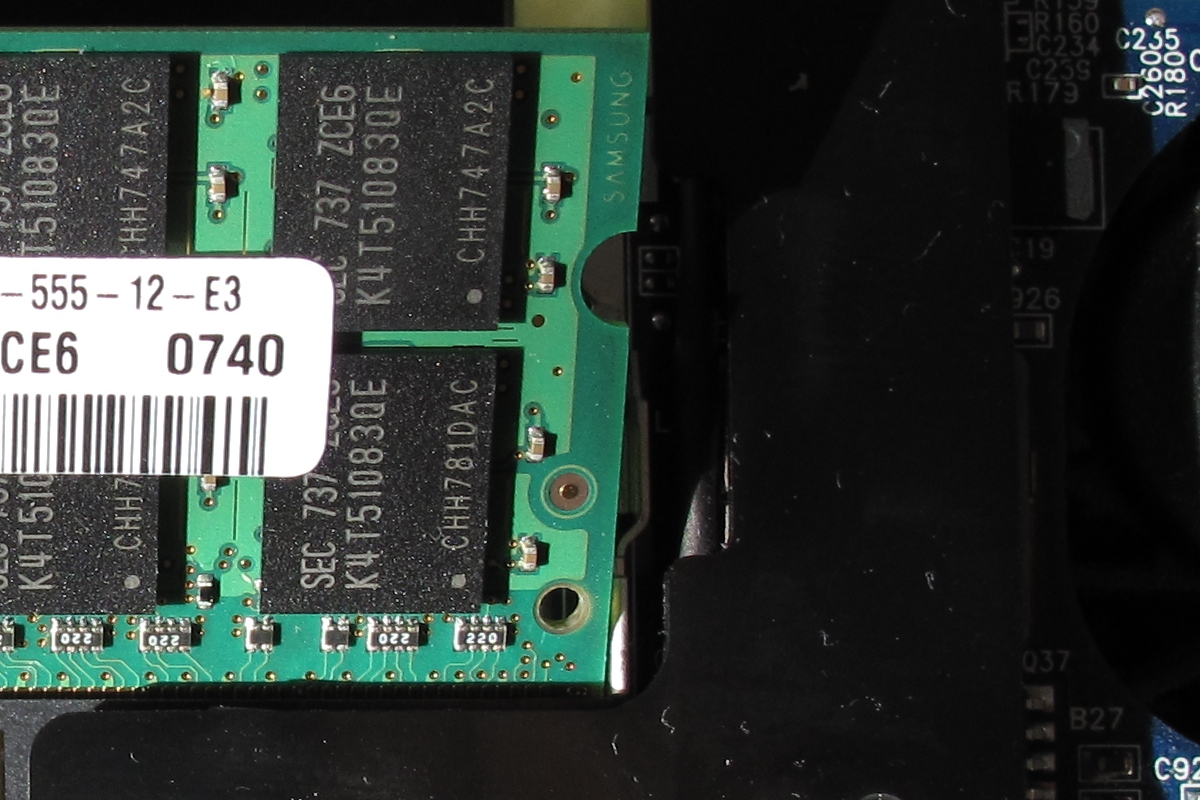
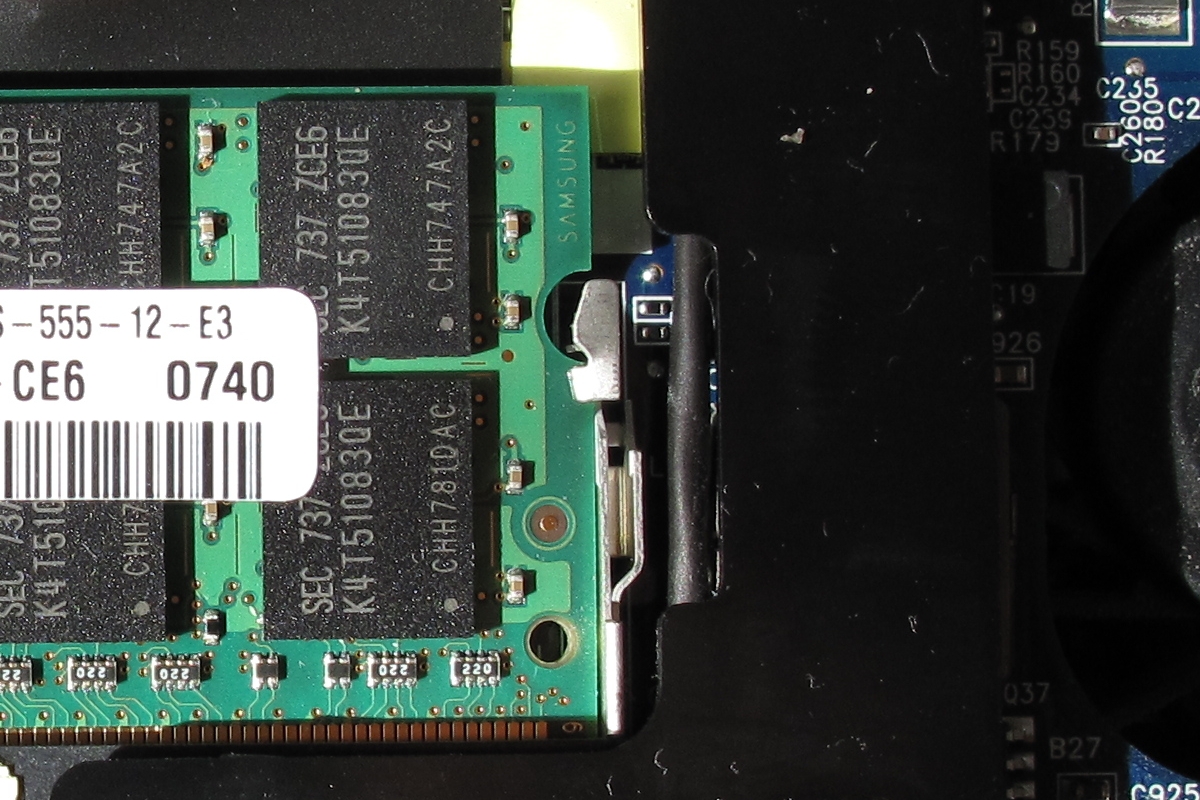
Insert the memory module into the slot at an angle of about 30 to 45 degrees. Ensure that it is pushed all the way into the slot. Now push the top corners of the memory module carefully down towards the notebook. The retaining clips on each side of the memory module will spring into place when the RAM is successfully installed.
Replacing the keyboard
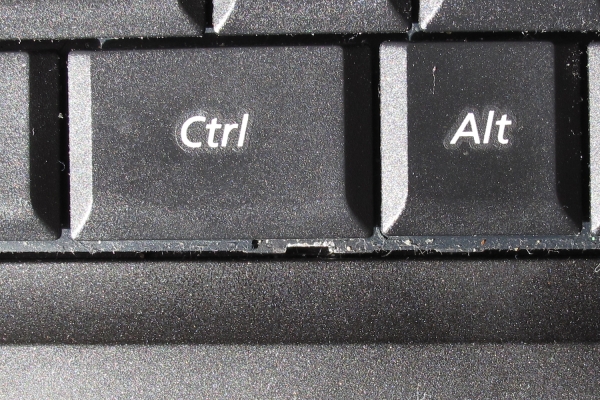
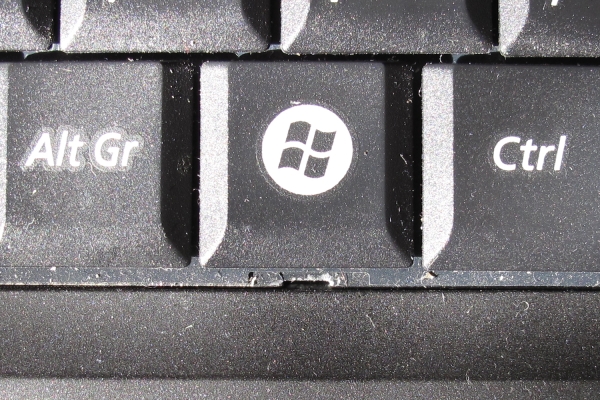
Replacement of the keyboard is a reverse of the process used to remove it. Slot the top row of the keyboard back into the recesses near the top of the case. With your finger of similar implement under the space bar, lower the keyboard ensuring that it fits underneath the tabs beside the function key and page down key. Use a small flat bladed screwdriver to apply pressure above the springed catches near the left control key and command key. The catches will spring back into place.
Turn the notebook computer upside down and replace and tighten the four screws in the holes marked 'KBD'.
Testing the memory
It is always a wise idea to test (or retest) the machine's memory after new memory has been fitted or existing memory has been reseated. This will reveal issues with the memory itself or how it has been fitted or configured.
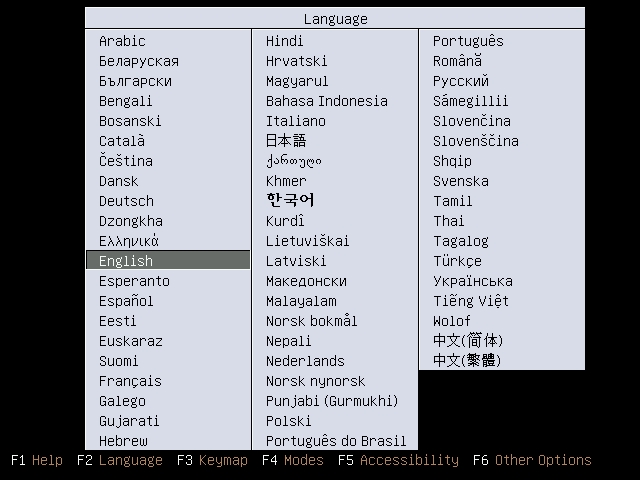
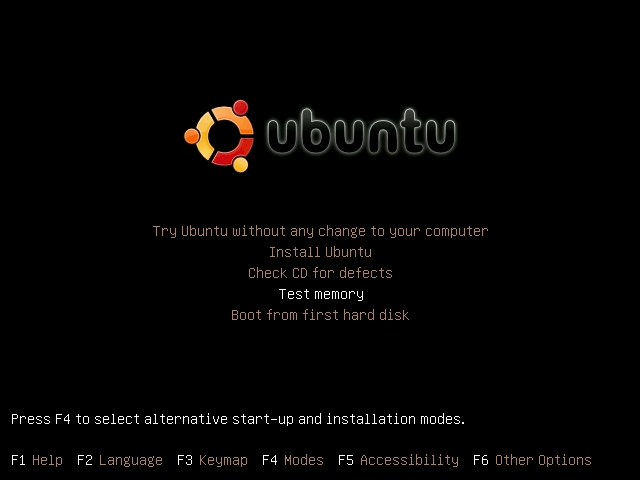
Use a bootable CD with memory testing software installed. Ubuntu 8.04 was used for the purpose of this demonstration. Firstly select your language. Next, choose the menu option 'Test memory' from the main boot selection screen.
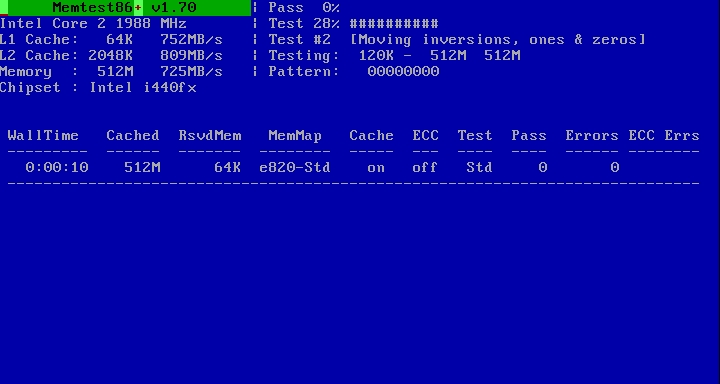
The Memtest86+ application will start. Leave this running until it has at least completed all its checks once. Your computer is likely to get very hot while this runs, so keep it well ventilated at all times.
If you encounter any errors these will be seen in the bottom panel. Check you have seated your memory correctly and, armed with the above test results, return any defective RAM modules to your dealer for replacement if necessary.